

GTA 6 / Missions / Chapter III
GTA 6 Practice on the Safe Walkthrough
Continue to practice using the borescope on the practice safe.
- You play
- Lucia
- Where
- Practice safe garage
- Chapter
- Chapter 3
- Start
- Automatic
- Reward
- Not seen
- Previous mission
- Ajax Gym Job →
- Next mission
- Work Security For Andrés →
- Steps
- 11 steps ↓
Walkthrough
How to Complete Practice on the Safe in GTA 6
11 steps, in the order the mission plays them. You play Lucia. Button prompts are the PlayStation ones the game shows.
Step 1 of 11
Secure the failsafe
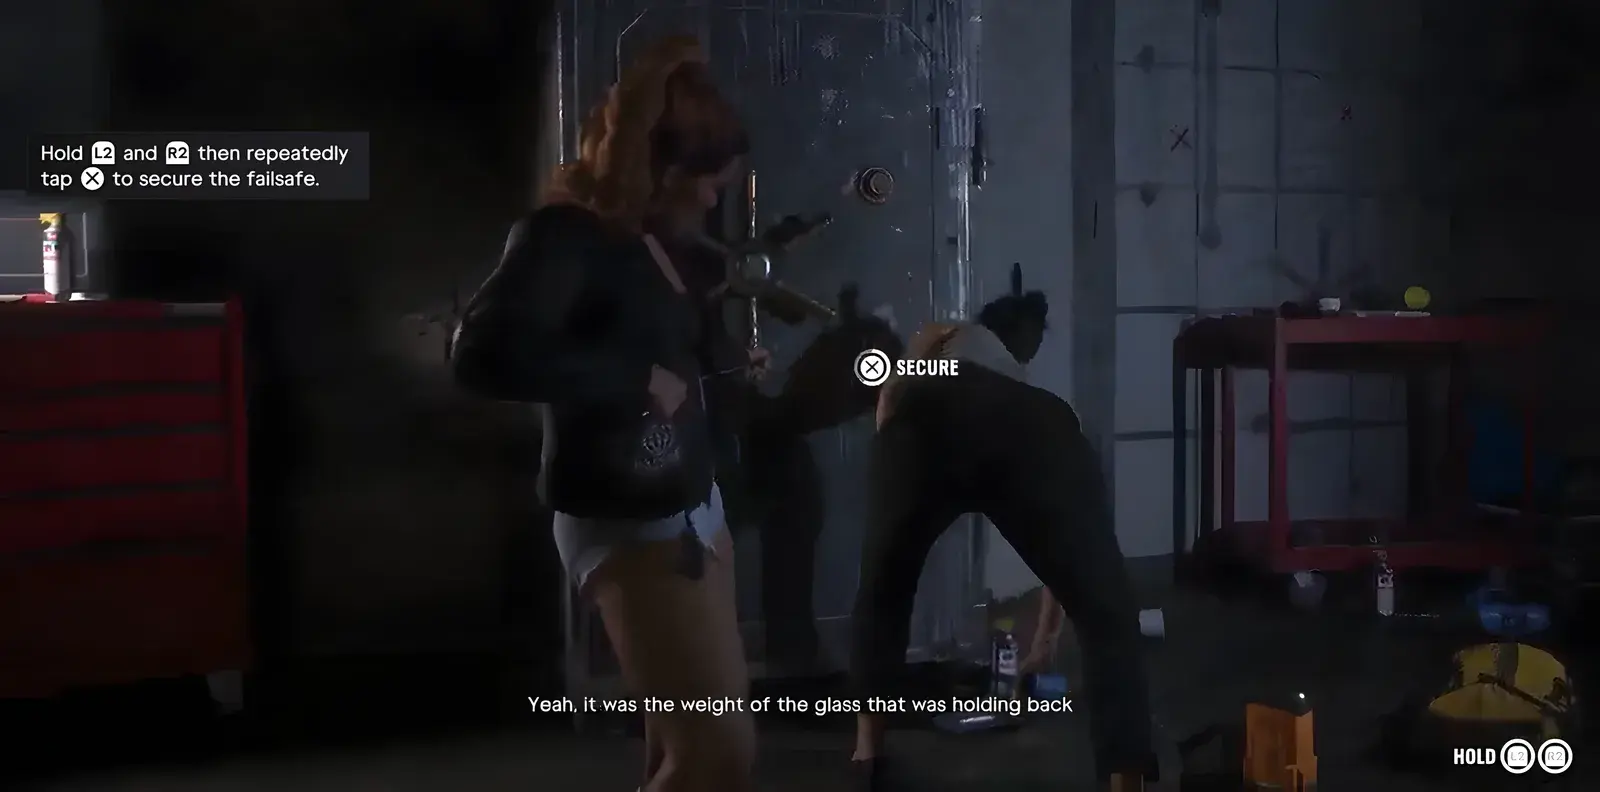
At the end of an earlier run the prompt reads "Hold L2 and R2 then repeatedly tap X to secure the failsafe." A SECURE button shows on screen. The coach explains that the weight of the glass was holding back the spring locking mechanism.
ControlsHold L2 and R2, then tap X repeatedly
Step 2 of 11
Open the safe
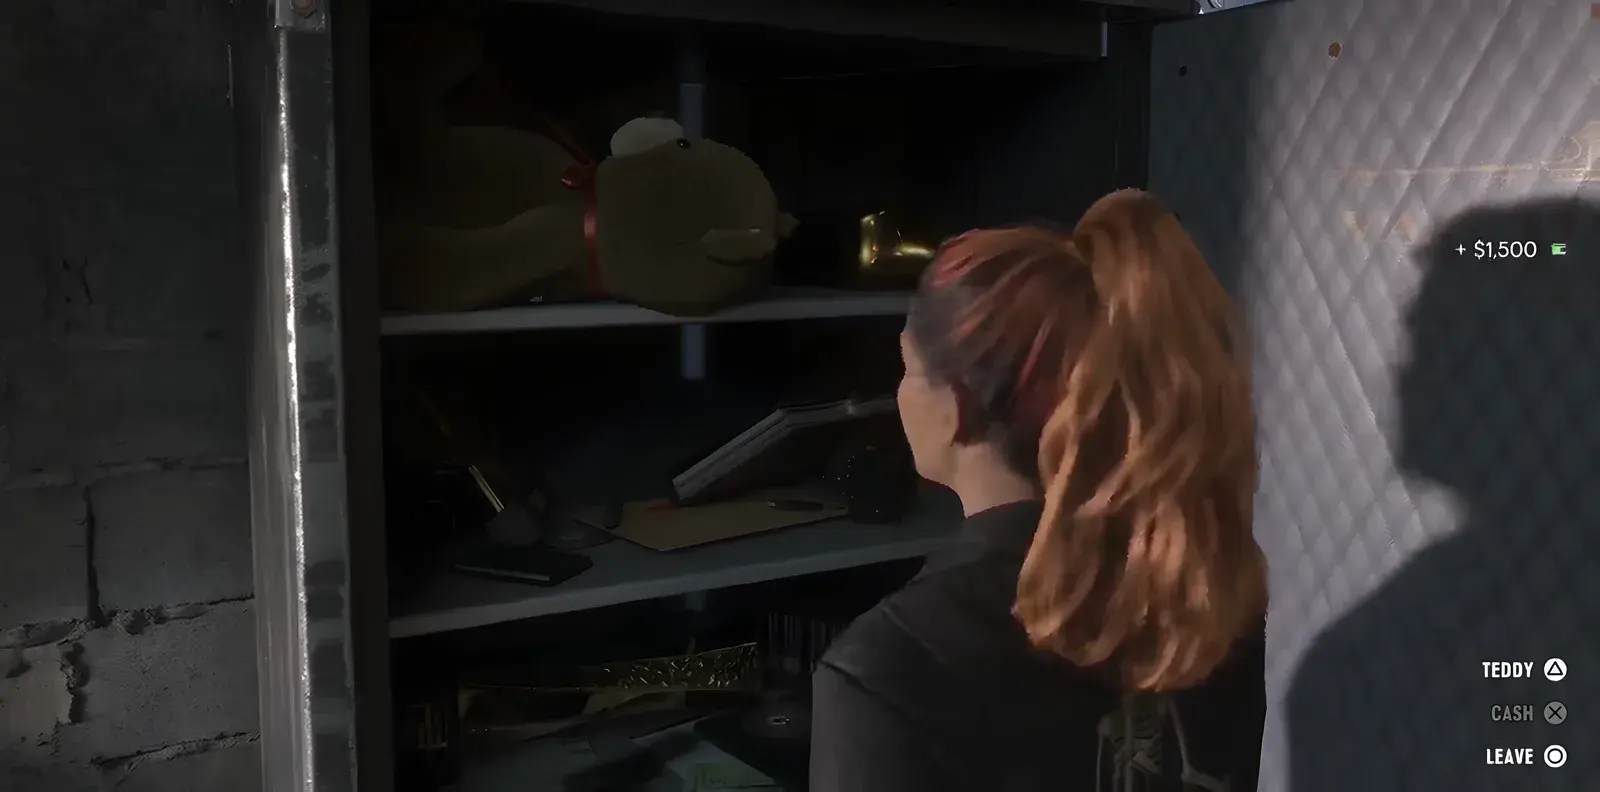
The safe opens and its shelf shows a teddy, brass items and papers. A menu offers TEDDY (Triangle), CASH (X) and LEAVE (Circle). "+ $1,500" appears, and a "+ Gil's Kalinga .50" pickup notice shows.
ControlsTEDDY (Triangle), CASH (X), LEAVE (Circle)
Step 3 of 11
Try again or quit
A result menu offers TRY AGAIN and QUIT. The coach says "Good job, we should run that again before the day, you know." She then leaves, saying she needs a break.
Step 4 of 11
Select the objective on the map
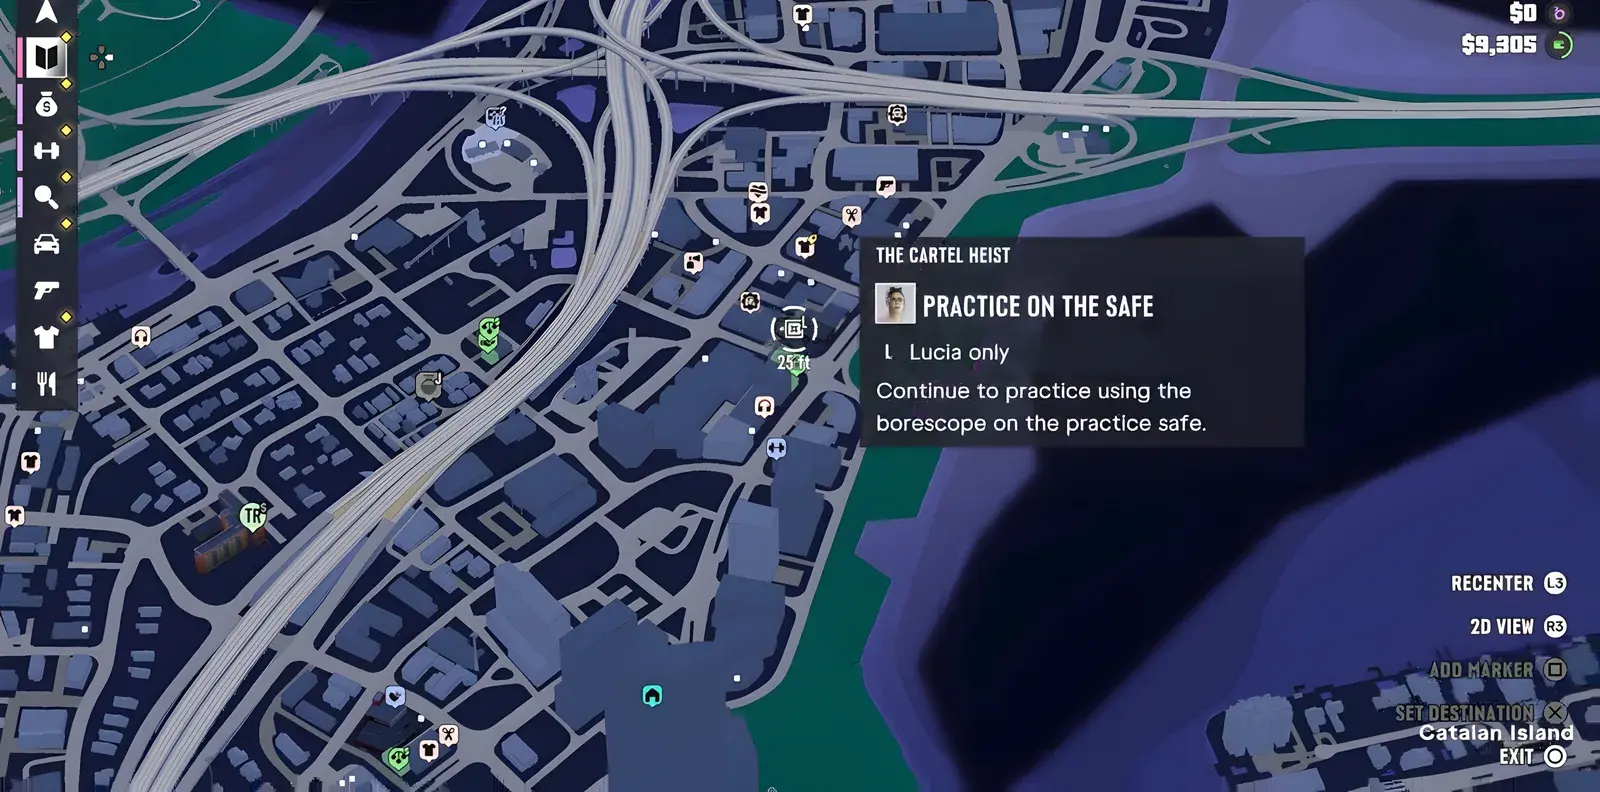
Lucia is in an alley and gets texts from Karim and Andrea. In the MAP tab of the pause menu, the Cartel Heist list shows Heist Planning, Prepping the Explosives and Practice on the Safe. The objective Practice on the Safe is selected, with its marker 25 ft away. The first objective is Practice now or later.
Step 5 of 11
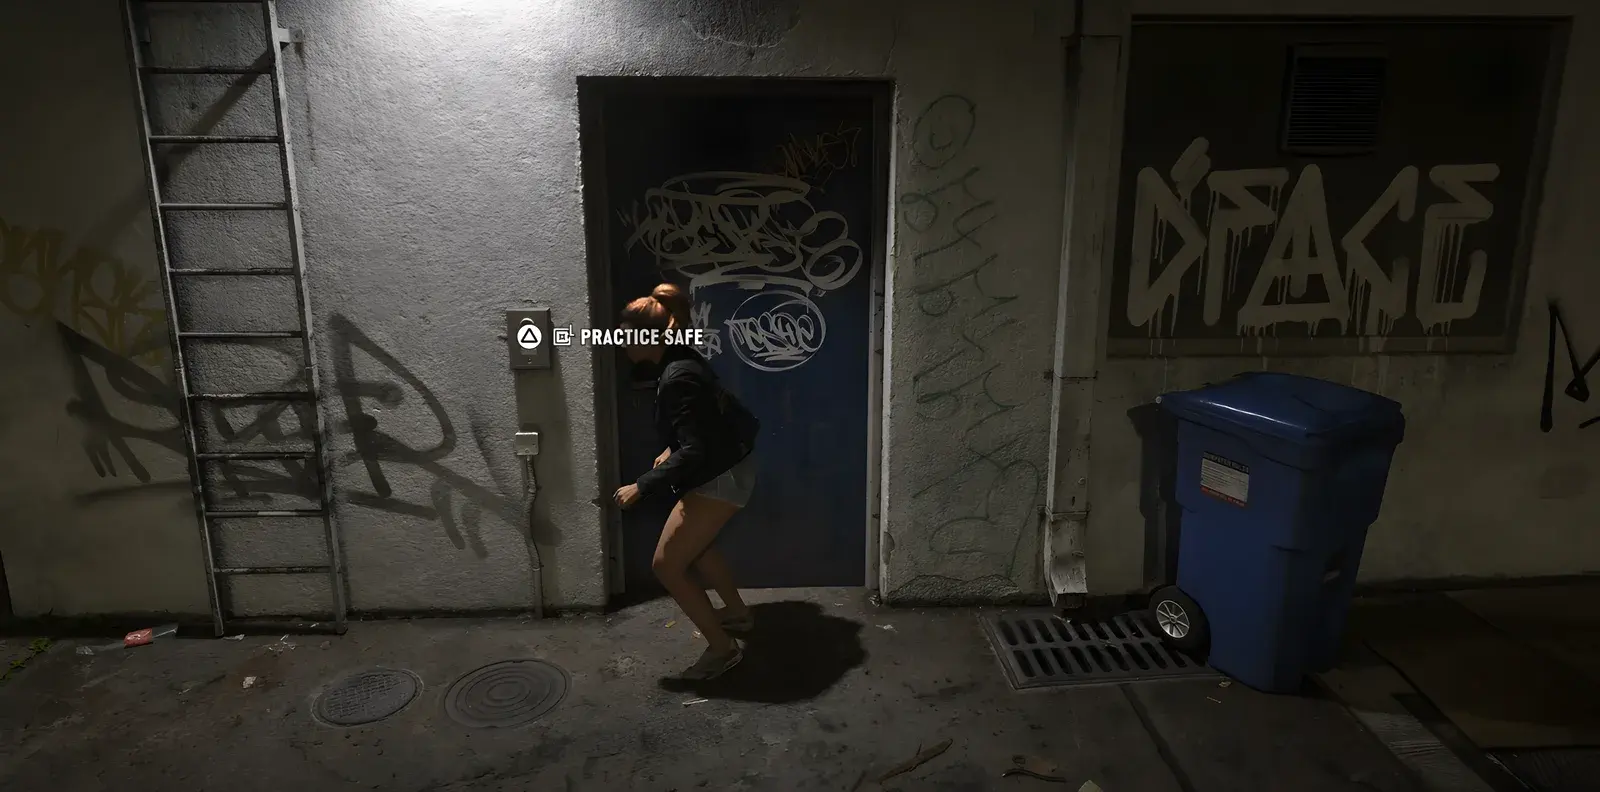
Go to the practice safe
Walk to the blue alley door. The prompt PRACTICE SAFE (Triangle) appears. Lucia says "Ugh, okay. Let's do this again."
ControlsPRACTICE SAFE (Triangle)
Step 6 of 11
Listen to the coach in the workshop
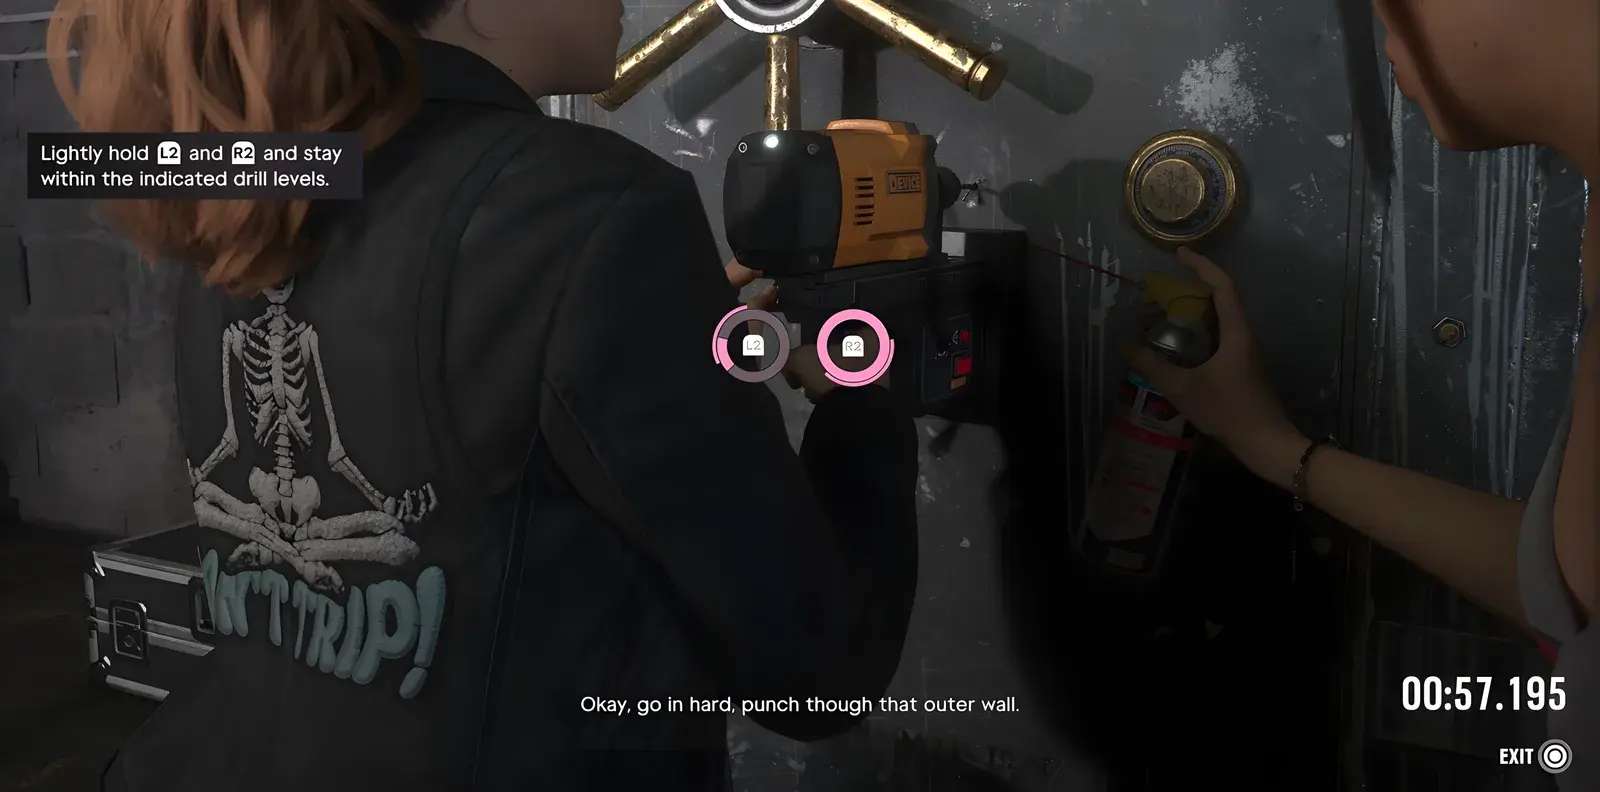
Enter the workshop. The coach explains the drill: start off going hard, then pull back, and don't let the drill overheat.
Step 7 of 11
Drill the steel door
The drill phase runs on a timer of about 1:00. The prompt reads "Lightly hold L2 and R2 and stay within the indicated drill levels." The coach says "go in hard, punch though that outer wall", and later "You're going too slow" and "Push it harder." Going too slow or too hard overheats the drill. In one run the drill phase finished in 00:36.331, and the coach said "That was tight."
ControlsLightly hold L2 and R2
Step 8 of 11
Get ready to secure the cable
The coach says to secure the cable hooked to the locking mechanism: follow it to where it is tied off, then hook it. There are sensors everywhere, so don't bump into them. Lucia inserts the borescope.
Step 9 of 11
Find the failsafe trigger with the borescope
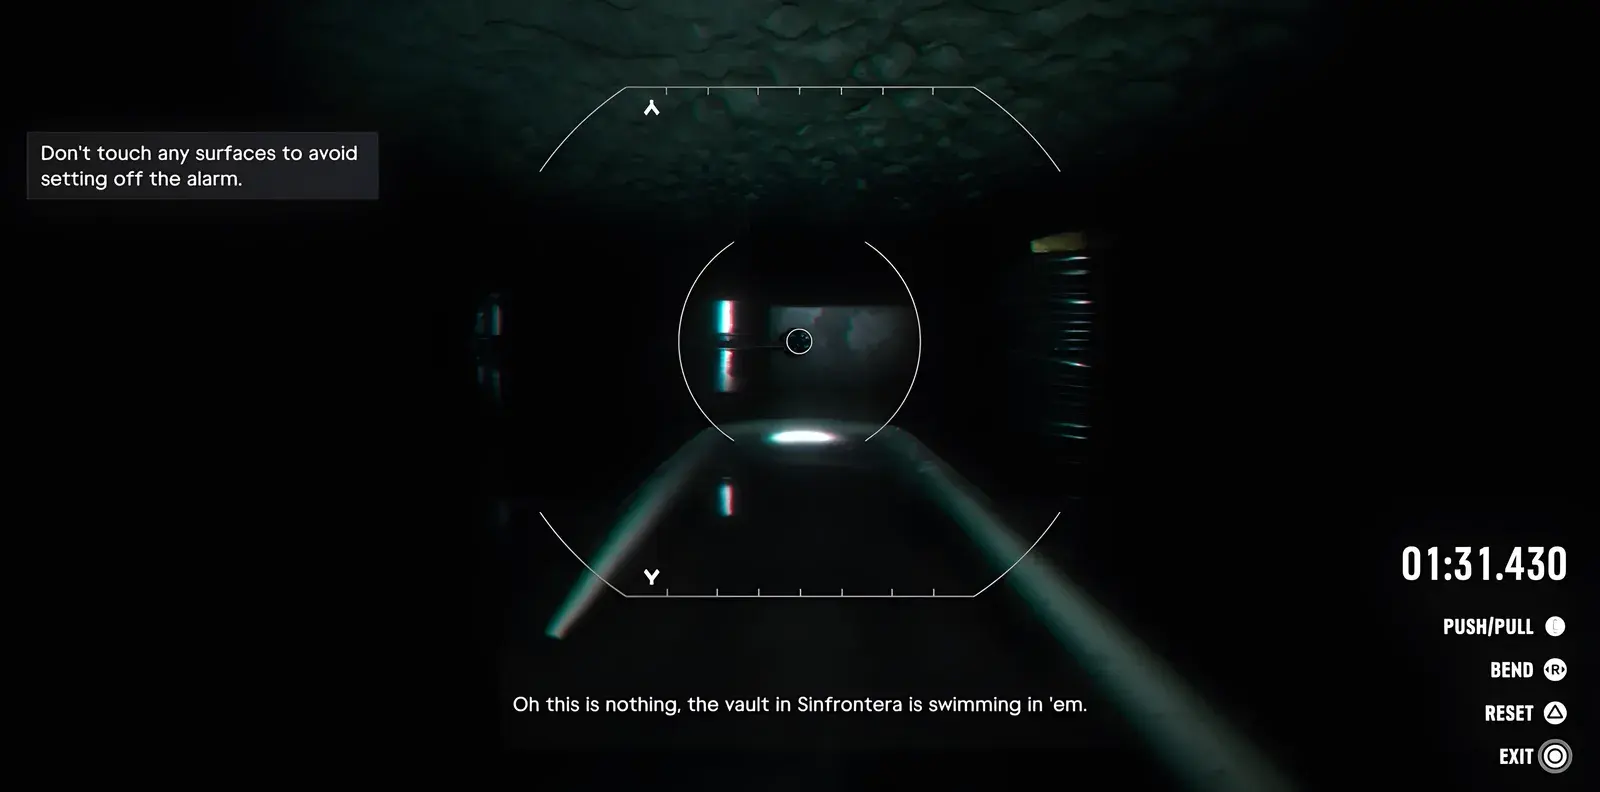
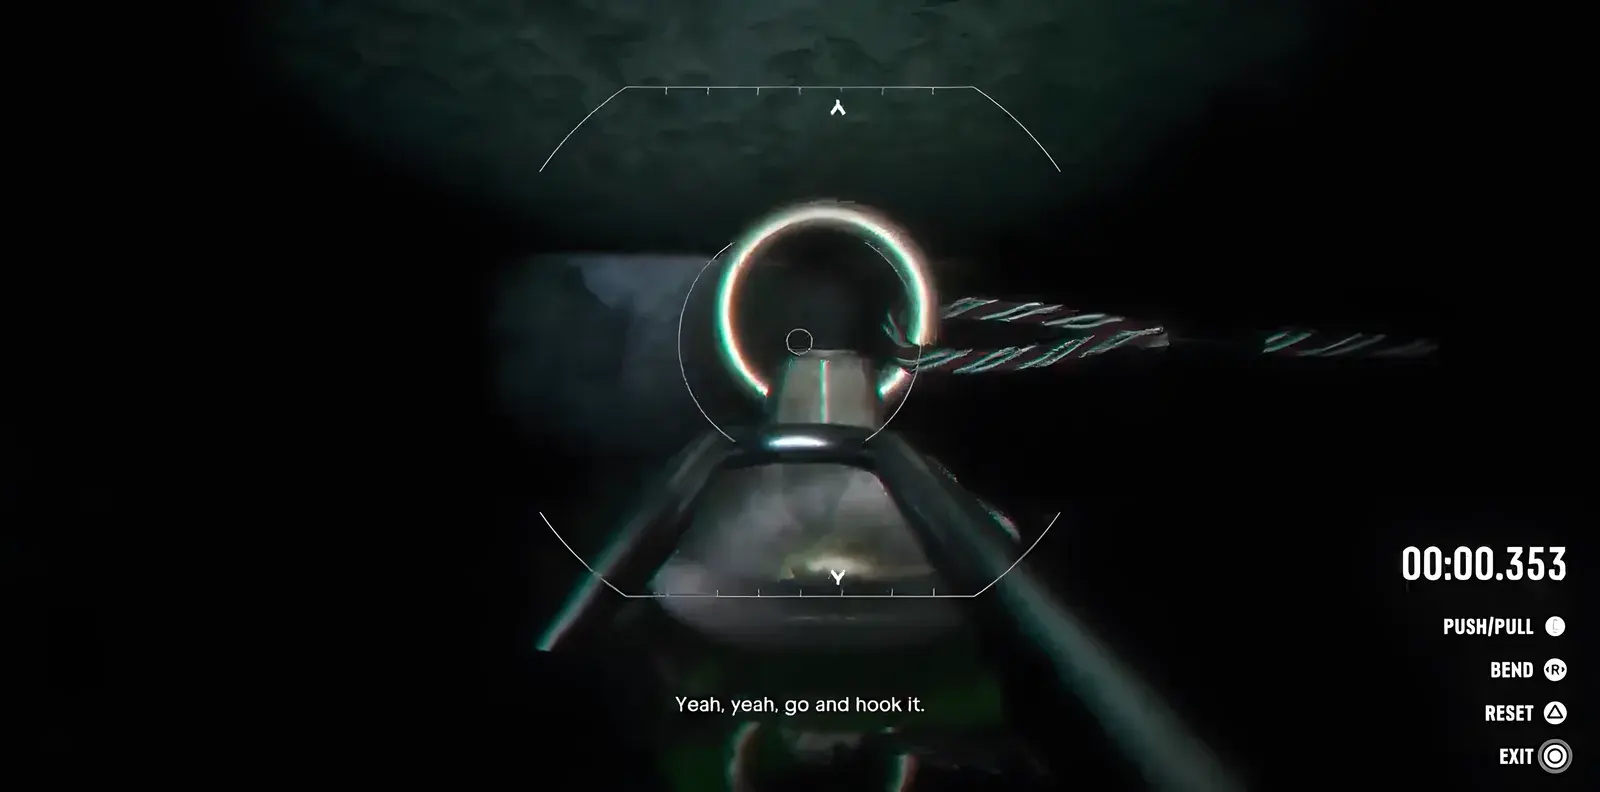
The borescope view starts with a timer of about 1:40 and the objective Find the failsafe trigger. The prompt reads "Don't touch any surfaces to avoid setting off the alarm." Follow the cable and don't touch it. If you go the wrong way, the coach says "No, wrong end. Follow the cable the other way." The timer turns red with about 13 seconds left.
ControlsPush/Pull, Bend (right stick), Reset (Triangle), Exit (Circle)
Step 10 of 11
Hook the cable before the timer ends
Press R2 to hook on to the failsafe. If the timer reaches 00:00 you get SIGNAL LOST and the coach says "And we're locked out." The hook ring was visible at that point but not hooked in time. A menu offers TRY AGAIN and QUIT.
ControlsR2 to hook
Step 11 of 11
Retry the borescope run
Choose TRY AGAIN. The coach says "Okay, so let's try to get it without having to reset this time if we can" and "Can't reset on the day." A new borescope run starts with the timer at 01:39.787. Follow the cable to where it is tied off. The coach says "Cable right there, track it to where it's tied off", "That's the bolt" and "Nice, go hook the cable."
Tips
Practice on the Safe tips
- In the drill phase, start hard to punch through the outer wall, then pull back so the drill does not overheat.
- Hold L2 and R2 lightly and stay within the indicated drill levels.
- In the borescope view, don't touch any surface, including the cable, or the alarm goes off.
- If you follow the cable and reach the wrong end, follow it the other way.
- Reset (Triangle) is available in the borescope, but the coach says you can't reset on the day, so try to hook the cable without it.
Still to confirm
Not seen yet
- Which choice (TEDDY, CASH or LEAVE) was made at the safe and whether the balance changed: the footage shows "+ $1,500" but not the choice
- Whether the Mission Passed screen shows a payout: no reward was seen
- How the retry ends: the footage stops before the result of the second borescope run
- Which mission follows: the pause menu lists Heist Planning in the Cartel Heist list, but the footage does not show what starts next
Questions & answers
GTA 6 Practice on the Safe: FAQ
How do you start Practice on the Safe in GTA 6?
It starts automatically. Select the objective on the map and walk to the blue alley door, where the prompt PRACTICE SAFE (Triangle) appears.
How do you drill the steel door in Practice on the Safe?
Lightly hold L2 and R2 and stay within the indicated drill levels. Go in hard to punch through the outer wall, then pull back, because going too slow or too hard overheats the drill.
How do you find the failsafe trigger with the borescope?
Follow the cable without touching any surface, track it to where it is tied off, then press R2 to hook on to the failsafe. The timer starts at about 1:40.
What happens if the timer runs out?
The screen shows SIGNAL LOST and the coach says you are locked out. A menu then offers TRY AGAIN and QUIT.
Does Practice on the Safe pay anything?
No reward was seen in the part we watched. A "+ $1,500" notice appears when the safe opens, but the footage does not show it as a mission payout.
Sources
Every step was seen in these launch streams; screenshots are frames from them (game footage © Rockstar Games).
- GTA 6 launch livestream (YouTube), November 19, 2026